We are on the home straight now!
Okay, ready? kn1t kn1t kn1t
Place 23 sts from one stitch holder back onto a needle and purl 1 row.
Row 1: Knit, increasing 1 st (Kf&b) each end of row. (25 sts)
Row 2: Purl
Row 3: Knit
Row 4: Purl
Row 5: repeat row 1. (27 sts) Now carry on in stocking stitch until your required length. **Make sure you keep a note of how many rows you've worked as you need both sleeves to be the same in length!
You can easily keep trying the jumper on your doll for fit.
Note: If you're going for a long sleeve, when measuring the sleeve don't hold the doll's arm straight, remember it bends and the sleeve will rise up. I was going to do short sleeves for Leo but then found I had enough wool to do long ones - I did 50 rows total of st.st.
Work 4 rows in KI P1 rib [i]at the same time[/i], P2tog at end of first row.
That way the rest of your rows begin with a K1.
Cast off in rib, leaving a long length of yarn for sewing up.Repeat for 2nd sleeve. That's all the knitting finished, now onto the sewing up.
This is where most knitters fall by the wayside as we like knitting and not sewing.
At least with the top down raglan the setting in sleeves bit is eliminated.
Sew the sides of the sleeves - I use back-stitch as I never have worked out how to do that invisible seaming, then tidy up the gap at the armhole - a couple of over stitches will secure.
If you want to, sew part way up the back then sew on buttons, poppers or hooks.
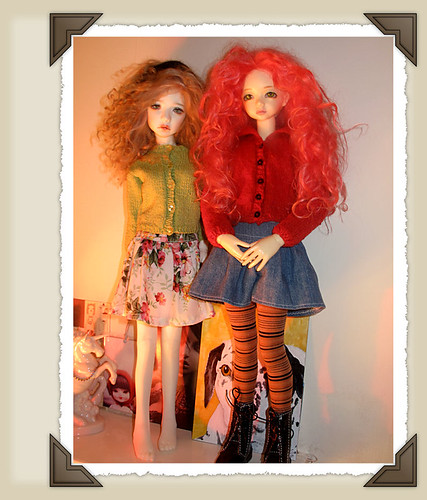
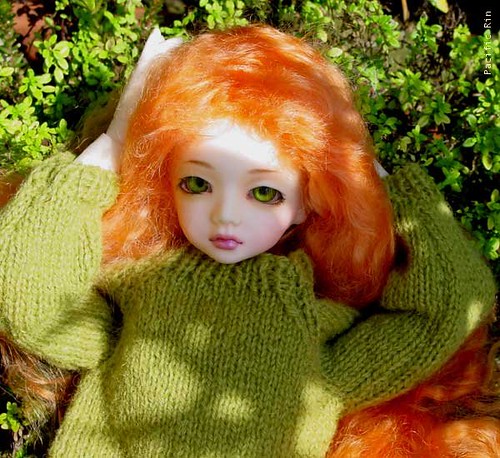
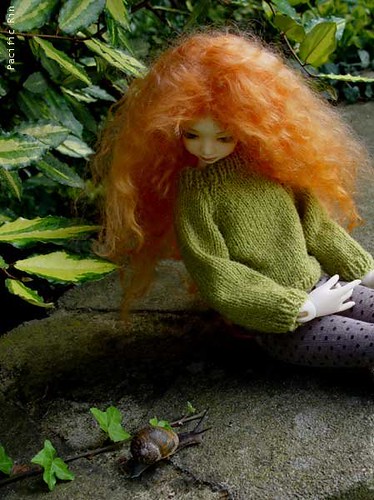
Press seams flat - and press jumper, it will look better.Try jumper on your doll, take photos and pat yourself on the back and be PROUD.

This pattern is very versatile, you can make the sweater long, short, standard. You can make it as a cardigan by doing the first 2 or 3 sts as knit stitches all the way down and adding buttonholes at intervals or sewing poppers. You can do long sleeves, short sleeves.
You can do moss stitch borders or no borders at all and the jumper edges will just curl.
Use thicker wool and larger needles.
The main thing is have fun!